The Importance of Proper Subfloor Preparation for Engineered Wood Flooring Installation
Installing engineered wood flooring can be a daunting task without the right preparation. An essential part of any successful installation is ensuring that the subfloor is properly prepared before laying down the new flooring. Without proper subfloor preparation, you may end up with an uneven and unsightly surface that could lead to premature wear or damage to your new flooring.
This blog will discuss the importance of proper subfloor preparation for a successful engineered wood flooring installation. We will cover what you need to know about different types of subfloors, how to best prepare them, and why it is so important. By following these tips, you can ensure that your new engineered wood floor is installed correctly and looks great for years to come.
1. Proper Subfloor Preparation Is Essential for the Long-Term, Successful Installation of Engineered Wood Flooring
Proper subfloor preparation is of the utmost importance when installing engineered wood flooring and should not be overlooked. Subfloor preparation ensures that the new floor will be level, creating an even surface, which will lend to the longevity of the wood flooring itself.
The key steps in properly preparing a subfloor involve all the necessary preparations for acclimatizing and other important repairs, such as patching, self-leveling, and filling of low spots. Additionally, hardened adhesives must also be scraped off and/or sanded to provide a proper surface for installation.
Taking care of these steps before laying down your engineered wood floors is essential to preventing warping or buckling in the future, ensuring you can enjoy your beautiful new look for many years to come.
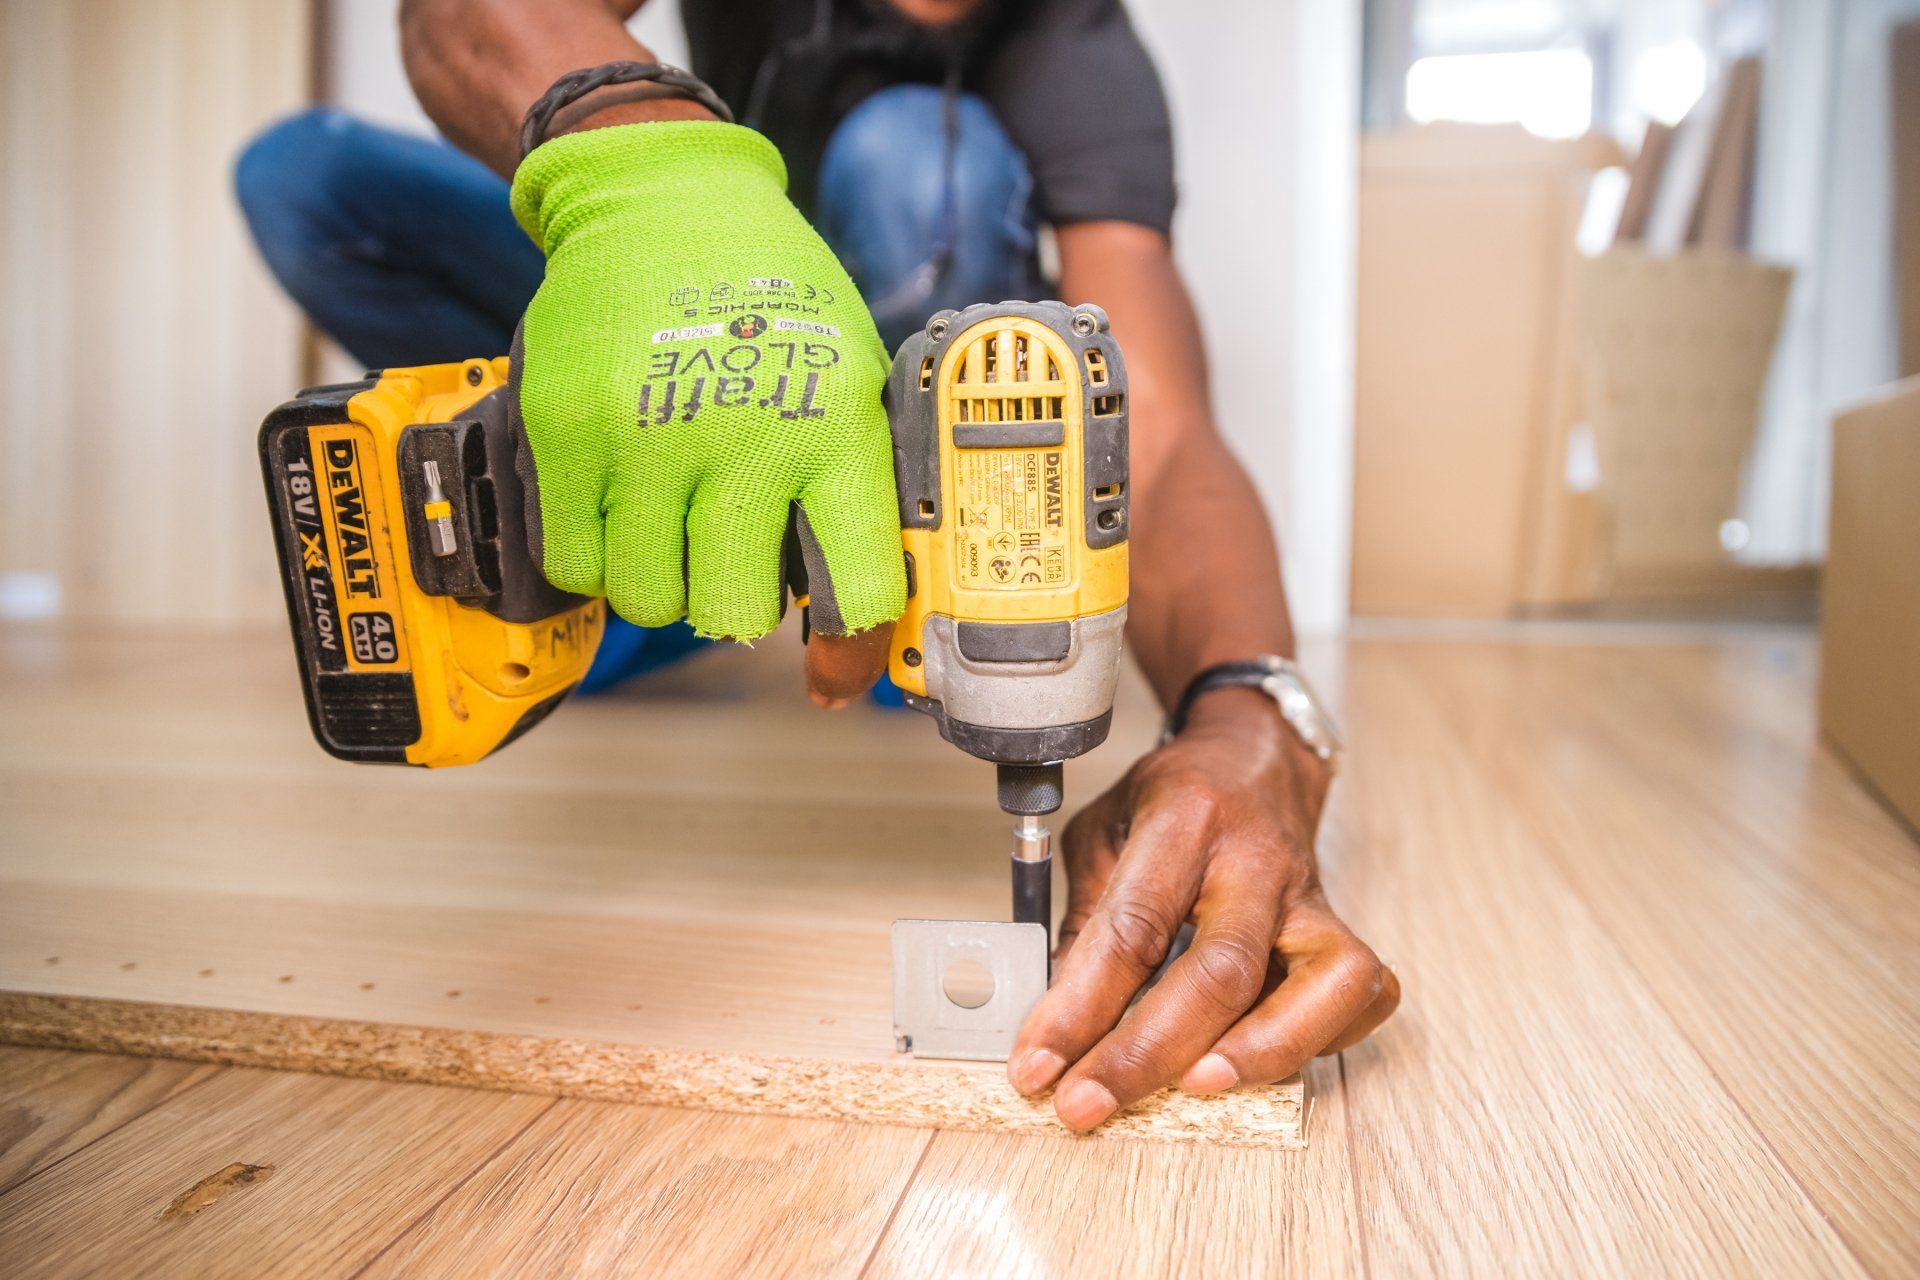
2. Subfloors Should Be Level, Flat, and Free of Any Debris or Obstructions That Could Prevent a Secure Fit Between the Flooring Planks
Proper subfloor preparation is an essential component of a successful engineered wood flooring installation. Subfloors should be flat and level to ensure that the planks fit securely, giving a professional finish. If the subfloor isn’t even, dips and high spots can lead to issues such as gaps between pieces or plank buckling over time.
In addition, any debris or obstructions must be removed before installation in order to create a seamless connection between each plank. Allowing these small details to slip dramatically increases the chances of costly issues after the project is done and put into use. Taking the time to prepare your subfloor properly gives your new flooring every chance of success.
3. Subfloors Must Have Adequate Moisture Coverage to Ensure Proper Adhesion Between the Adhesive and the Subfloor Surface
Proper subfloor preparation is essential for the successful installation of engineered wood flooring. It ensures proper adhesion between the adhesive and the subfloor beneath the new flooring material, thus reducing long-term problems such as buckling or warping.
The most important factor in this process is adequate moisture coverage, especially when there are multiple layers of subflooring present. When moisture levels are too low, the adhesive won’t properly bond with the underlying floor structure; however, if it’s too high, then water vapors will potentially cause mold and rot in wood-based systems.
As such, it’s essential to test the moisture levels of your substrate before installing engineered wood to make sure it is within acceptable ranges. Doing so can prevent costly and time-consuming repairs that could have been avoided from the start.
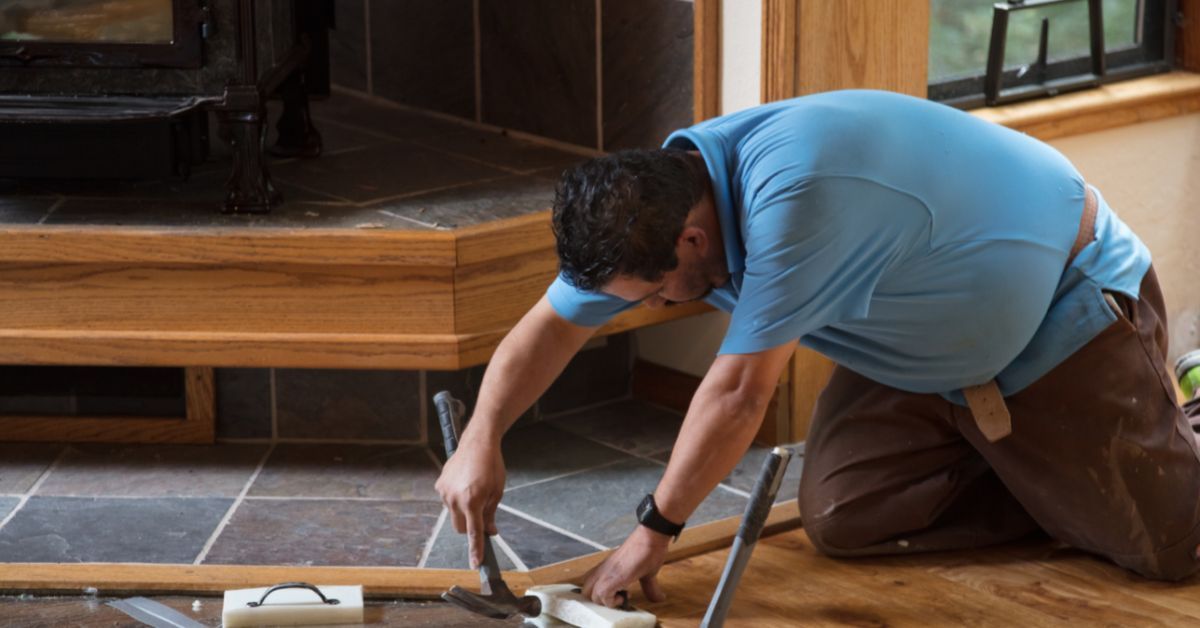
4. Any Existing Cracks in Concrete Subfloors Need to Be Filled Before Installing Engineered Hardwood Floors to Avoid Future Damage From Shifting and Settling Over Time
Proper subfloor preparation is critical for the successful installation of engineered hardwood floors. Preparing the existing concrete subfloors is key and should not be overlooked, as any cracks in the concrete can cause serious problems down the road.
If left unfilled, these structural imperfections can lead to shifting and settling over time, which puts added stress on the wood and could eventually cause it to warp or separate from the subfloor. In order to mitigate this risk, all cracks in the concrete need to be filled before any engineered hardwood flooring is installed.
Filling these cracks also helps account for any minor movement that may occur with temperature changes during the four seasons, providing additional protection against future damage.
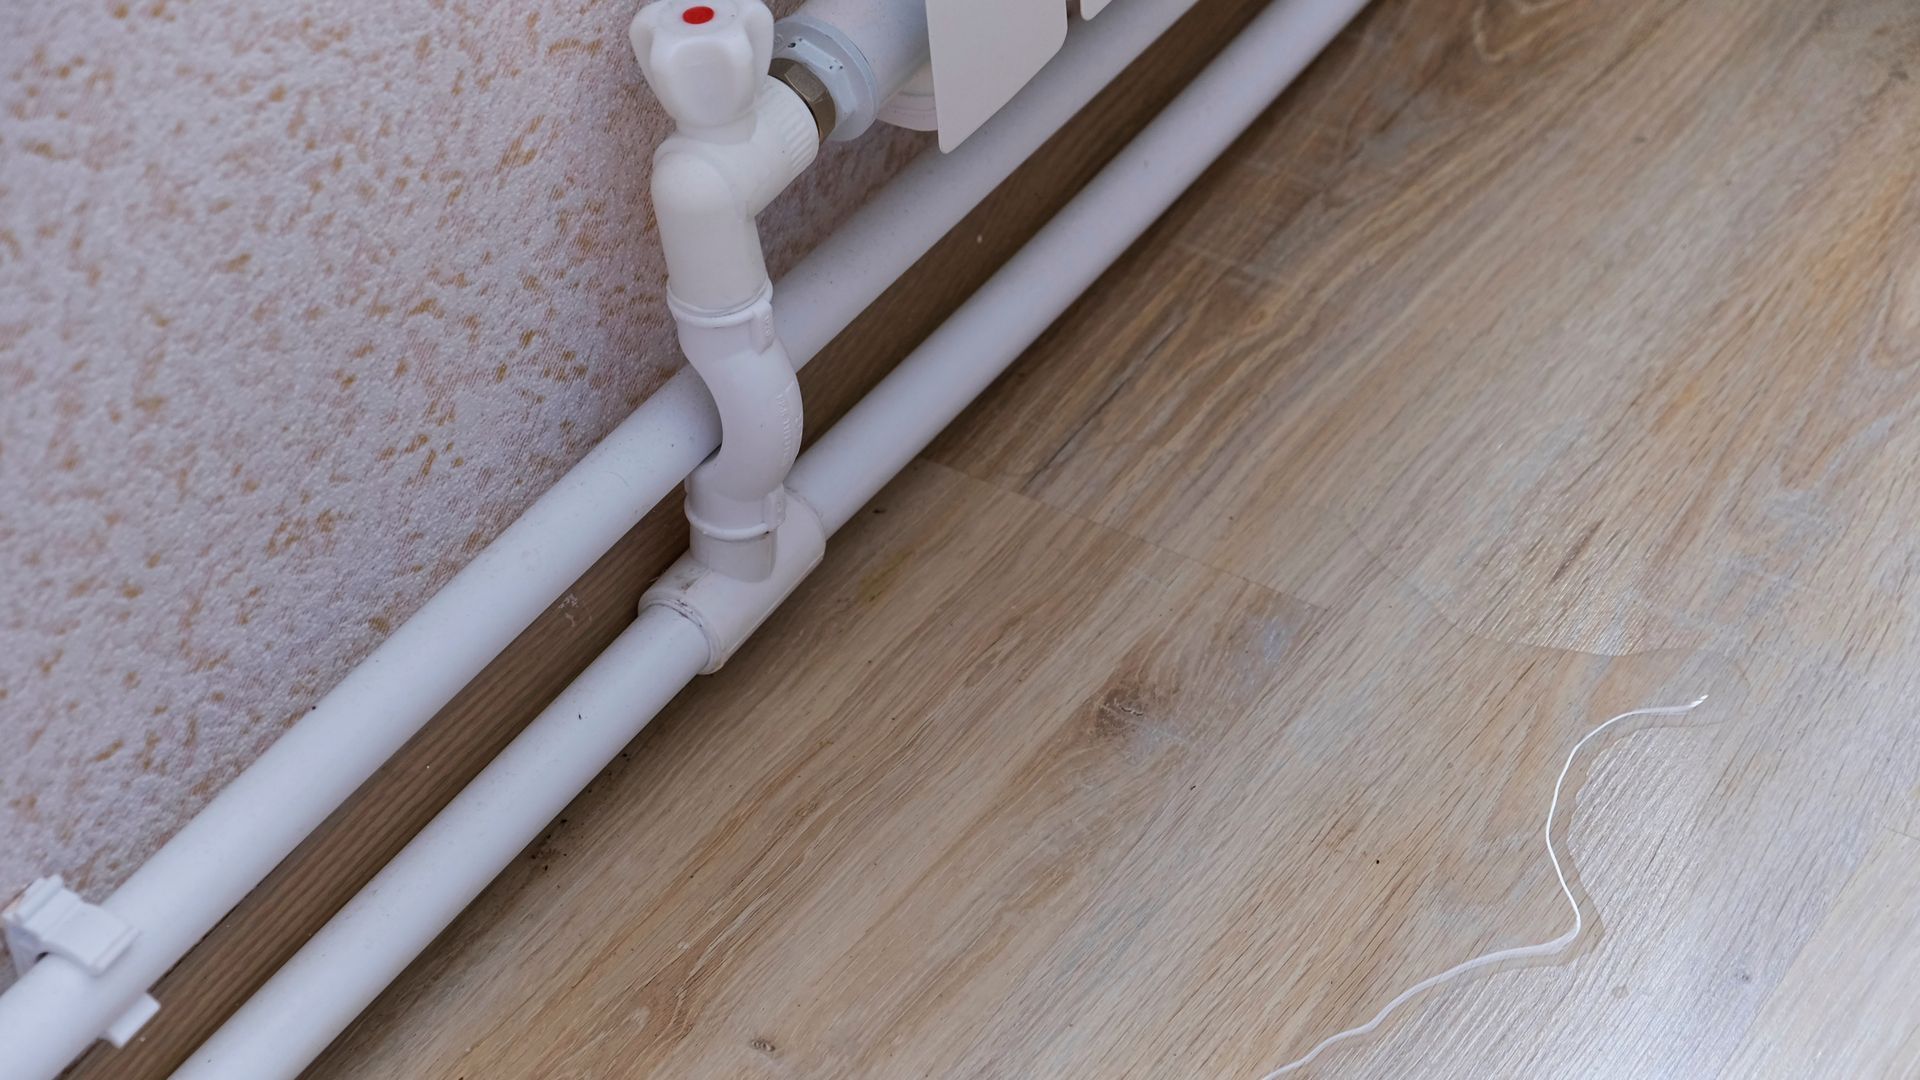
5. The Perimeter Edges of All Concrete Substrates Must Be Sealed With a Compatible Sealant Prior to Applying an Engineered Wood Flooring System
In order to securely lay down an engineered flooring system, an additional protective sealant must be applied to all concrete substrate perimeter edges in the desired area of the floor. This extra layer of protection stops moisture seepage from beneath the structure and prevents irreversible damage to both the floor and walls.
Therefore, it is recommended to always use a compatible sealant with your engineered wood flooring system before starting any kind of installation process. This precautionary measure will keep your newly installed floors in pristine condition for years to come.
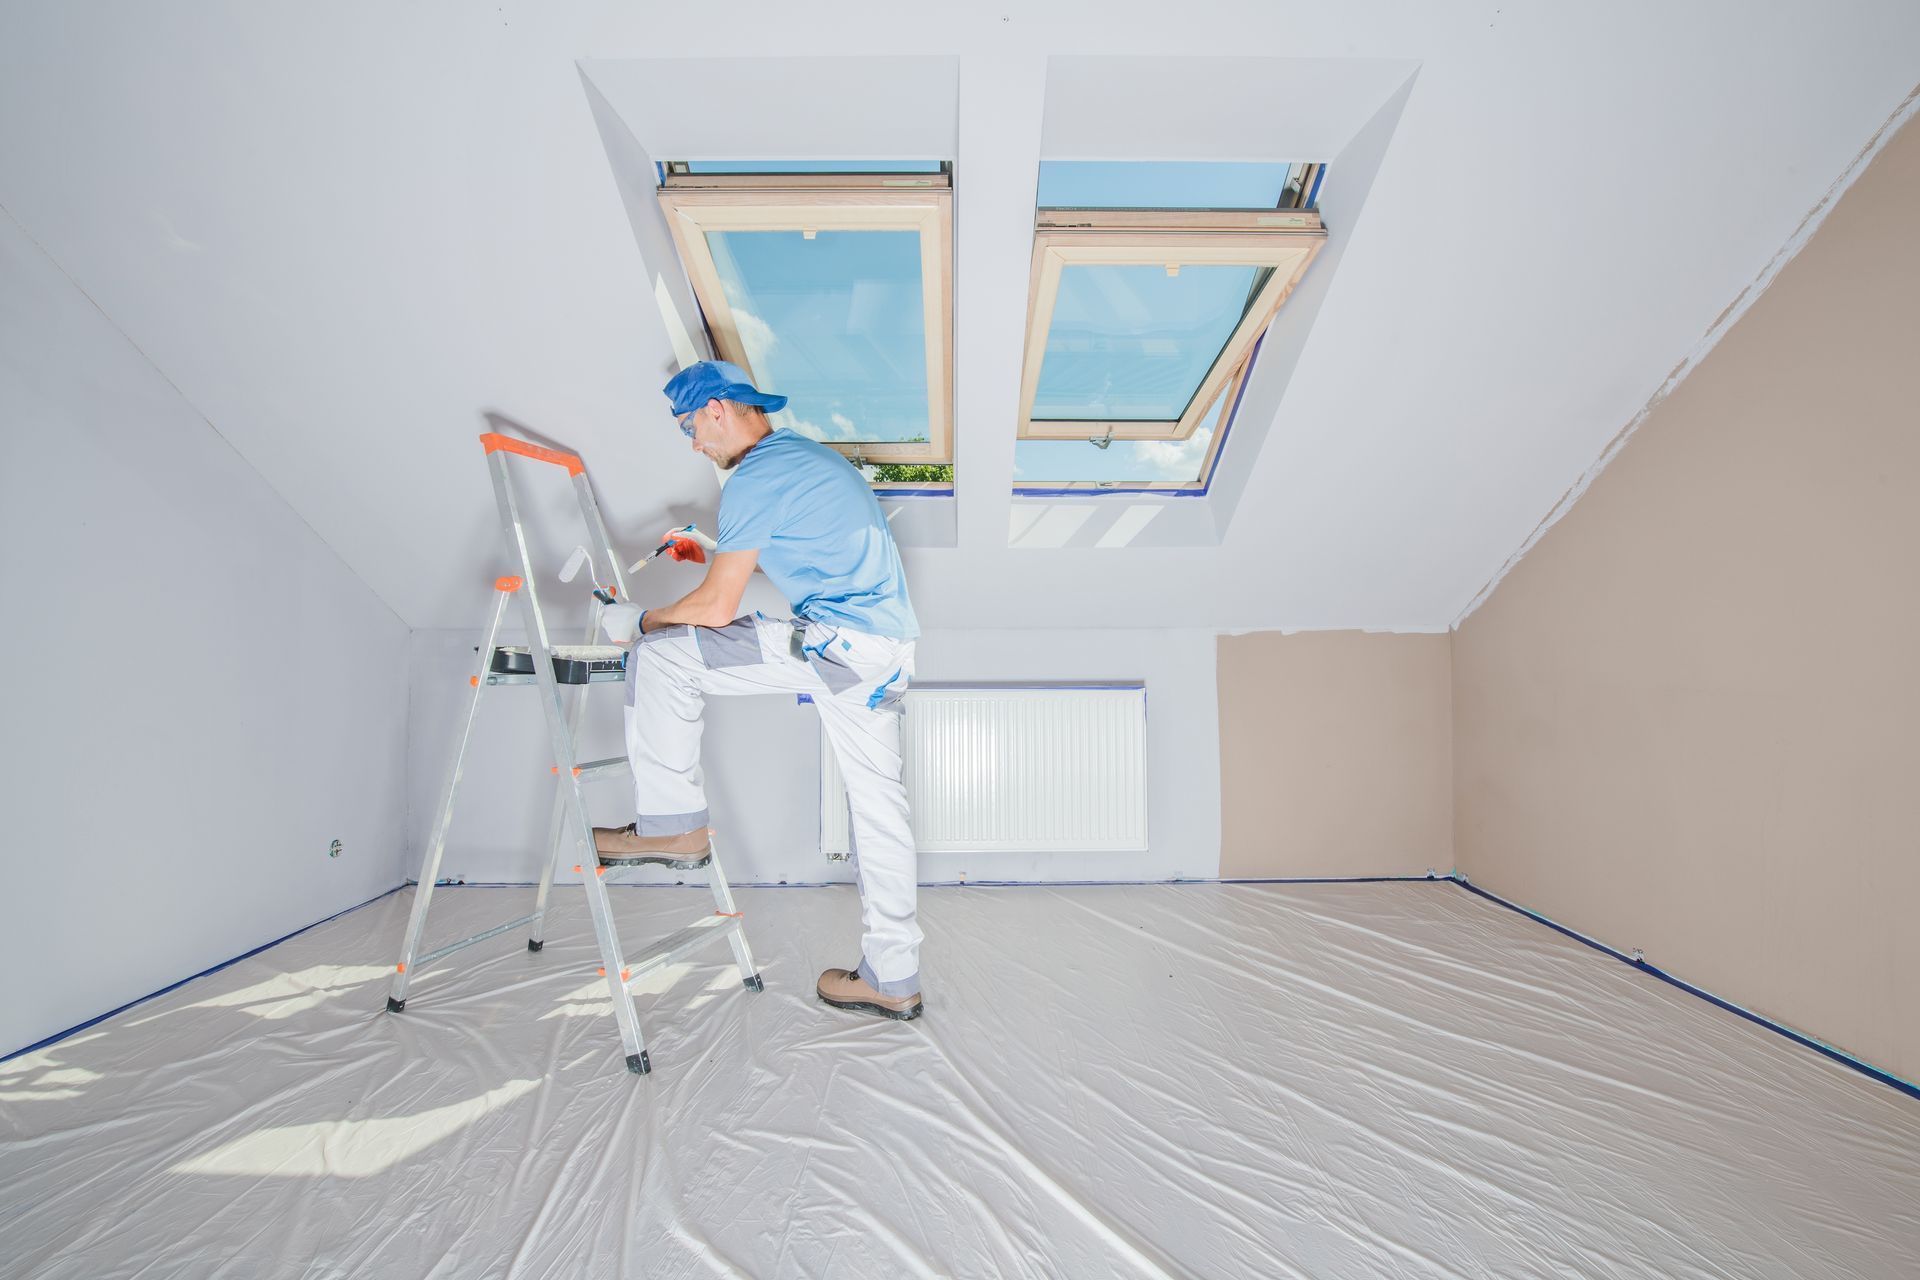
6. Expansion Gaps Should Also Be Left Around All Walls and Other Permanent Fixtures When Installing an Engineered Hardwood Flooring System So That It Can Expand and Contract Without Damaging Itself or Its Surroundings as Temperatures Change
It is especially important to leave expansion gaps around all walls and permanent fixtures when installing your engineered hardwood flooring. This gap allows for the engineering flooring to expand and contract naturally when temperatures change, making sure that it does not damage itself or its surroundings in the process.
It's worth taking the extra few minutes when preparing a subfloor to ensure that you leave the right amount of space between the wall, fixtures, or cabinet bases and the baseboard trim. Doing this correctly on installation will help ensure that your engineered wood flooring lasts long-term without suffering from wear and tear due to temperature changes.
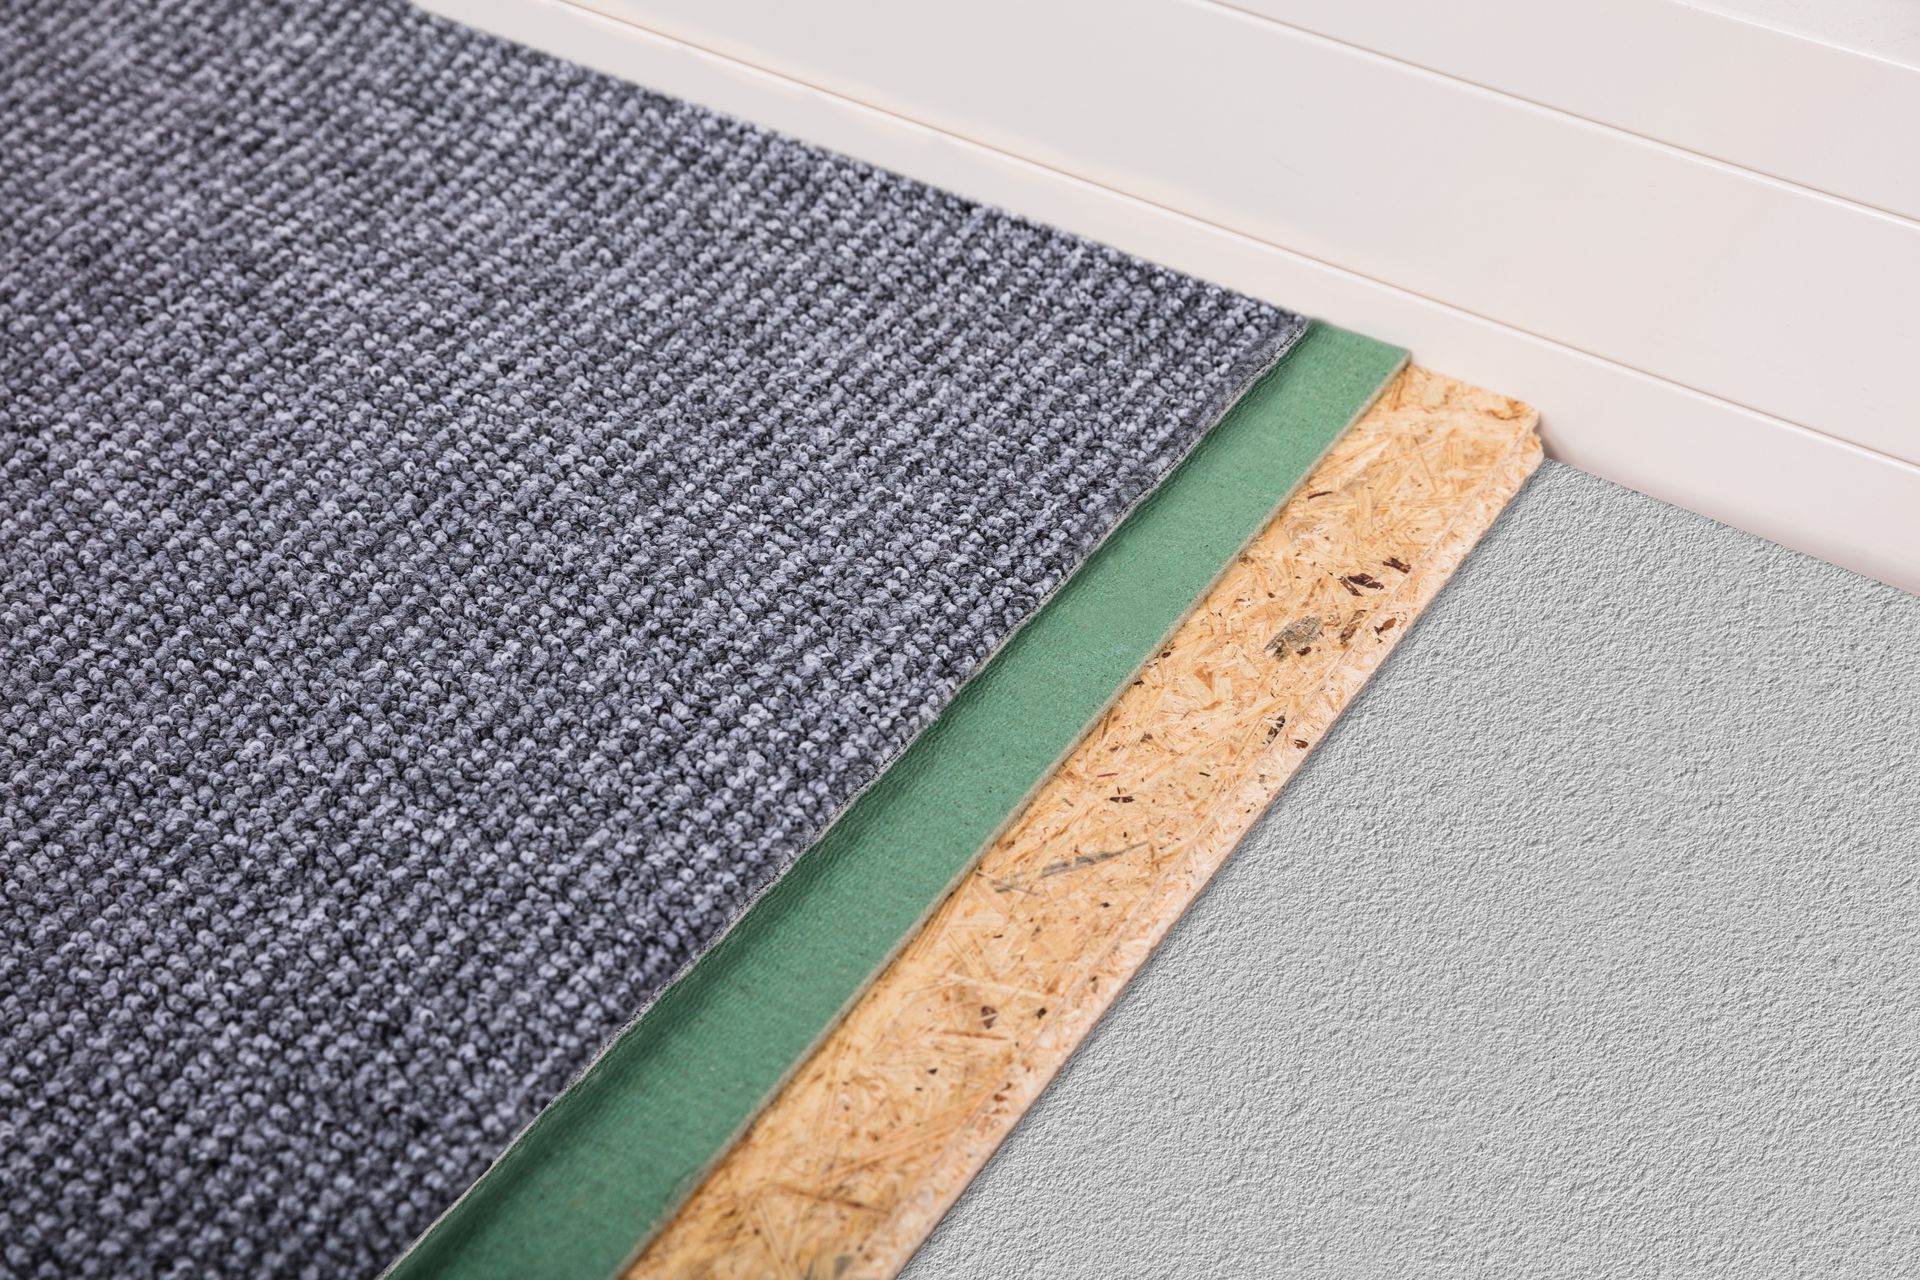
7. All Underlayment Materials Used During Installation Should Meet Manufacturer Specifications and Comply With Local Building Codes for Best Results and Optimal Performance Over Time
Having the right subfloor preparation is key when installing engineered wood flooring. Every component of underlayment must meet the manufacturer’s specifications and comply with local building codes to ensure optimal performance over time.
Properly preparing a subfloor means taking measures such as smoothing out surface irregularities, checking moisture levels, patching divots and cracks in the concrete, filling in gaps between boards, making sure plywood is up to code, and many other steps that help create a foundation for optimal performance of your floor installation.
Taking shortcuts on any of these steps can lead to problems later down the line, so be sure to use only materials that are recommended by the manufacturer and make sure all building codes are met. With proper preparation comes greater long-term satisfaction!
Proper subfloor preparation is an essential part of installing engineered wood flooring. Taking the time to check for surface irregularities, patch divots and cracks in concrete, fill gaps between boards, use the right materials for an underlayment that meets manufacturer specifications, and leave expansion gaps around walls will help ensure your new floor looks great and stands the test of time. Taking these precautions before installation will give you peace of mind knowing that you did everything possible to make sure your engineered wood flooring will look beautiful for years to come.
If you're thinking about upgrading your home with engineered wood flooring, don't risk an unsuccessful installation. Make sure you properly prepare your subfloor beforehand to ensure that your new floors look great and last for years! Take the time to check for surface irregularities, patch divots and cracks in concrete, fill gaps between boards, use the right materials for an underlayment that meets manufacturer specifications, and leave expansion gaps around walls to get the best possible results.
Don't hesitate - to contact
Freedom Construction Services today! Our experienced contractors have the knowledge and expertise to make sure your new engineered hardwood flooring is installed correctly and looks great for years to come. Call us at 479-877-5375 to get started! We look forward to helping you achieve the home of your dreams.